目前分類:Sweet! 實驗廚房 (34)

瀏覽方式: 標題列表 簡短摘要

夏威夷果仁塔   個

一個晴空萬里的周末近午時分,忽然接到簡訊一個朋友老謝說路過此想過來.....(最近常有這情況)哈哈

聊著聊著說他剛買了農場,問我要不要過去看看,就這樣沒有特別推辭下上了車,一路奔馳到了奧克蘭南方許多農場的地區

看到有起士的招牌、也有在門口有賣自家蔬果的農園

然後來到了老謝的農場.....

好大的農場,已經有了奇異果、夏威夷豆,還有好多好多的開墾工作.....這是我對這農場的印象

老謝想要和女兒再創一次夢想...很棒!

祝福他   人生本來就充滿希望

而我帶回家的伴手禮可多了,除了一路上的蔬果、起士,當然還有老謝果園裡的夏威夷豆豆

真是有幸能有機會親自體驗農場原貌,果樹果仁的生長和收成

原來夏威夷豆會這麼貴.....,真是有原因的,這個採到果仁的過程實在艱辛,不容易啊!

為了珍惜這一切,特別把樹下拾來的綠果,經過層層剝皮最後再做成可口的甜點,算是對這夏威夷果有始有終的敬畏,也感謝老謝!


夏威夷果仁松子塔


派皮


材料:
低筋麵粉   Flour                               1C,

泡打粉            baking powder               1/2t

無鹽奶油   Unsalted butter             75g,

糖粉                suger                               1/4c

蛋黃                egg                                   1/2
                    salt                                  少少


內餡

材料:
夏威夷豆        Macadamia nut              150g

松子                                                                少少

蜂蜜                                                               45g,

細砂糖                                                            35g,

無鹽奶油                                                        30g,

鮮奶油                                                            40g,

步驟:
1.若買的是生夏威夷豆,放入已經預熱至160c的烤箱中
   烘烤6-8分鐘取出放涼備用
2.將蜂蜜,細砂糖,無鹽奶油及動物性鮮奶油放入大碗中
3.小火加熱至奶油融化混合均勻
4.再繼續使用中小火熬煮5-6分鐘至奶油糖漿煮到滴入冷
   水中會成為糰狀或是溫度達到115c即可離火
  
5.將夏威夷豆和松子倒入混合均勻

6.將焦糖夏威夷豆平均鋪放至塔皮中
7.再放入已經預熱至180c的烤箱中烘烤10-12分鐘
   至表面金黃取出,放涼即變脆糖
8.完全涼透即可脫模,馬上密封避免回潮
 

文章標籤

雅典那 發表在 痞客邦 留言(1) 人氣()

IMG_3545布里歐皇冠麵包

第二次試做就成功了,猜到了第一回不完美的問題癥結所在,這樣算是猜對.....這也許就能歸功於多年來做甜點的經驗吧!
問題可能就是再放入"溫烤箱"發酵時,烤箱還太熱,所以沒真的發酵就把麵團給弄死了....,所以這一次溫和溫何的溫度,讓那一團軟軟的麵糰慢慢的發酵,到了和烤模一樣高之後,挪出來等等再將烤箱升高到要烤的180度,之後烤.....20分鐘蓋著錫箔紙,再降溫烤20分鐘沒錫箔紙,讓表面上層漂亮的色。

杏仁酥
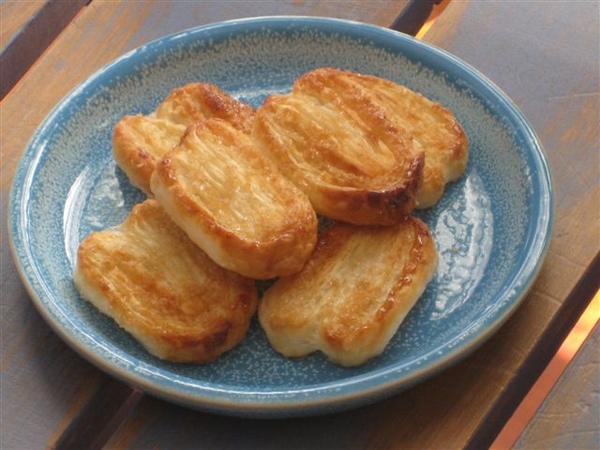
這個杏仁酥是順便做的,因為要熱烤箱發酵麵包,就順便一下拉,只可惜酥皮不夠只能烤一盤過個癮!也溫暖一下屋子!
IMG_3541

雅典那 發表在 痞客邦 留言(0) 人氣()

IMG_1672e.JPG

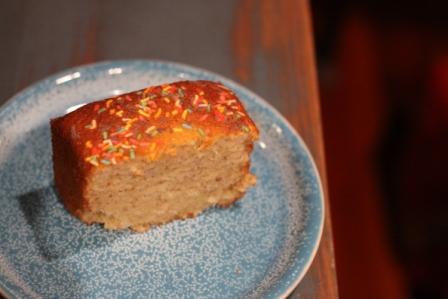
這個夏日香蕉蛋糕是我家的常客,也許是天氣特別熱〈應該只能說溫暖不然台灣的天氣該如何形容〉,所以香蕉熟得特別快,很快就成為香蕉蛋糕的理所當然材料,因此最常出現的蛋糕就非他莫屬了。

Banana Cake 香蕉蛋糕

材料

1 Cups self-raising flour (or1cups flour and 2 tsp baking powder)
1杯自發麵粉或1杯中筋麵粉加2茶匙發粉
100 g butter (or 1/3 cup oil)100 奶油或1/3杯的沙拉油
1cup sugar 1杯糖
2 eggs 2 蛋
1/2 tsp vanilla essence 1/2 香草精
1/3 cup milk or water 1/3 杯牛奶 或水
2 Banana 2 根熟香蕉兩條

Preheat oven 180 C 烤箱預熱180度C

1.將糖放入大容器中,蛋分別打入,一次一個,再加入油和水和香草精繼續打數分鐘到呈現淡黃色有些發起的模樣,然後加入已經壓爛的香蕉泥

2.再加入篩好的麵粉攪拌均勻即可,放入噴好油的烤盤
3.烤約 30~40 分鐘〈 依烤盤形狀而改變時間〉

文章標籤

雅典那 發表在 痞客邦 留言(0) 人氣()

IMG_5450e.JPG
Pavlova (Pav) is a meringue cake that has a light and delicate crisp crust and a soft sweet marshmallow center. This lovely dessert is typically served with softly whipped cream and fresh fruit. There is a long standing debate about whether New Zealand or Australia invented this dessert, which has yet to be resolved. What we do know is that the name, Pavlova, was chosen in honor of the Russian ballerina, Anna Pavlova, who toured both New Zealand and Australia in 1926.

Pavlova:
4 large (120 grams) egg whites
1 cup (200 grams) superfine (castor) sugar
1 teaspoon white vinegar
1/2 tablespoon cornstarch (corn flour)
Topping:
1 cup (240 ml) heavy whipping cream
1 1/2 tablespoons (20 grams) granulated white sugar
1/2 teaspoon pure vanilla extract
Fresh fruit - kiwi, strawberries, raspberries, blackberries, passion fruit, peaches, pineapple, or other fruit of your choice
Pavlova: Preheat oven to 250 degrees F (130 degrees C) and place rack in center of oven. Line a baking sheet with parchment paper and draw a 7 inch (18 cm) circle on the paper.
In the bowl of your electric mixer, with the whisk attachment, beat the egg whites on medium-high speed until they hold soft peaks. Start adding the sugar, a tablespoon at a time, and continue to beat until the meringue holds very stiff peaks. (Test to see if the sugar is fully dissolved by rubbing a little of the meringue between your thumb and index finger. The meringue should feel smooth, not gritty. If it feels gritty the sugar has not fully dissolved so keep beating until it feels smooth between your fingers). Sprinkle the vinegar and cornstarch over the top of the meringue and, with a rubber spatula, fold in.
Gently spread the meringue inside the circle drawn on the parchment paper, smoothing the edges, making sure the edges of the meringue are slightly higher than the center. (You want a slight well in the center of the meringue to place the whipped cream and fruit.)
Bake for 1 hour 15 minutes or until the outside is dry and takes on a very pale cream color. Turn the oven off, leave the door slightly ajar, and let the meringue cool completely in the oven. (The outside of the meringue will feel firm to the touch, if gently pressed, but as it cools you will get a little cracking and you will see that the inside is soft and marshmallowy.)
The cooled meringue can be made and stored in a cool dry place, in an airtight container, for a few days.
Just before serving gently place the meringue onto a serving plate. Whip the cream in your electric mixer, with the whisk attachment, until soft peaks form. Sweeten with the sugar and vanilla and then mound the softly whipped cream into the center of the meringue. Arrange the fruit randomly, or in a decorative pattern, on top of the cream. Serve immediately as this dessert does not hold for more than a few hours.
Serves 6 to 8.

雅典那 發表在 痞客邦 留言(0) 人氣()


這樣好吃的蛋糕拿到Recipe一定要快點試做看看,在我家的烤箱理會是如何成型的?
IMG_5518e.JPG

ingredient

1 3/4C sugar
zest and juice of 2 lemons
2 eggs
1 c oil (plain)
1/2 tsp salt
1 c plain yoghurt
2 Cups self raising flour

180 c 50 minutes ~30m

一切都順利完成,也成功出爐了。

但是,Athena 的喜劇上場
Athena興奮的從烤箱拿出漂亮的蛋糕,很高興能夠利用到這個天使蛋糕的模子烤,第一步順利的將外模脫去,正想要試試看那天使蛋糕的倒掛冷卻法,努力的要找一個瓶子可以將模子給掛上去,好容易找到一瓶比較不一樣的飲料瓶口小一點可以掛上去,在那倒掛上去的瞬間整個蛋糕應聲掉落到地上、廚台...到處都是我那好吃的蛋糕。
完全不成型了.....到處都是ㄟ,母女三人哈哈大笑,來不及爲這美麗好吃的蛋糕傷心了。
彷彿喜劇一場,媽媽主角真是太可惜了沒有用錄影機拍下來,不然一定很精采。
只好把那些所謂的蛋糕用盒子碎碎的裝起來也好,只好用碗裝來吃啦!
嗯!味道還真好ㄟ
一定要再作一次。

雅典那 發表在 痞客邦 留言(0) 人氣()

http://www.masa.tw/%E5%B9%BC%E5%85%92%E9%A3%9F%E8%AD%9C/%E8%9B%8B%E7%B3%95%E9%A3%9F%E8%AD%9C-%E5%AD%A3%E7%AF%80%E3%81%AE%E6%B0%B4%E6%9E%9C%E4%B9%B3%E9%85%AA%E8%9B%8B%E7%B3%95rare-cheese-cake.html#extended
IMG_3160.JPG
當然沒有原版的美麗
[1個 7-inch/吋]
奶油乳酪 Cream cheese—200g
糖粉 Powder sugar—40g
優格(原味) Plan yogurt—250g
檸檬汁 Lemon juice—1.5小匙*
*需要看用什麼水果, 再調整酸味!
鮮奶油 Whipping cream—80cc

吉利丁片 Gelatin sheet—8g
水蜜桃(罐頭) Peach(canned)—2~3片
-

海綿蛋糕(8吋) Sponge cake(8-inch)—1cm
*做法請看這裡
糖水 Syrup—適量
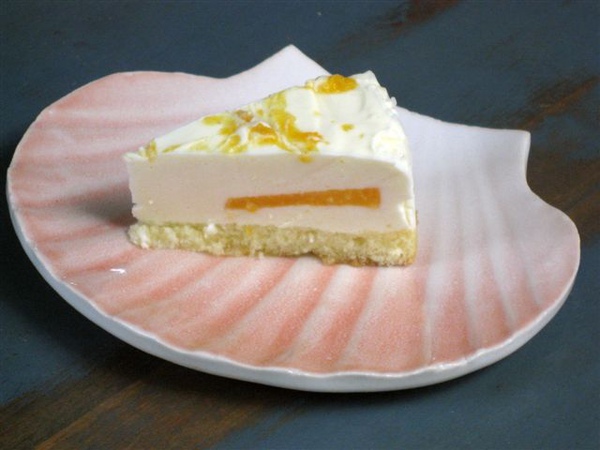
每每喝咖啡時總是想要來一點甜點,但是就是不想開烤箱,雖然在紐西蘭夏天已經涼快得夠舒服了,所以在MASA老師的網站上找到這個食譜,真是好吃!
技術上也不難做,而平日拿手的海綿蛋糕,也是到超是買現成的,這樣真的不用開烤箱了,哈哈,懶到家了。

IMG_3155.JPG
真的用保潔膜好搬動
IMG_3159.JPG ]
順便秀一下我做的盤子,好像太大了一點

雅典那 發表在 痞客邦 留言(0) 人氣()

IMG_1678.JPG
提拉米蘇 Tiramisu

1. 3 個蛋
2. 60g 糖
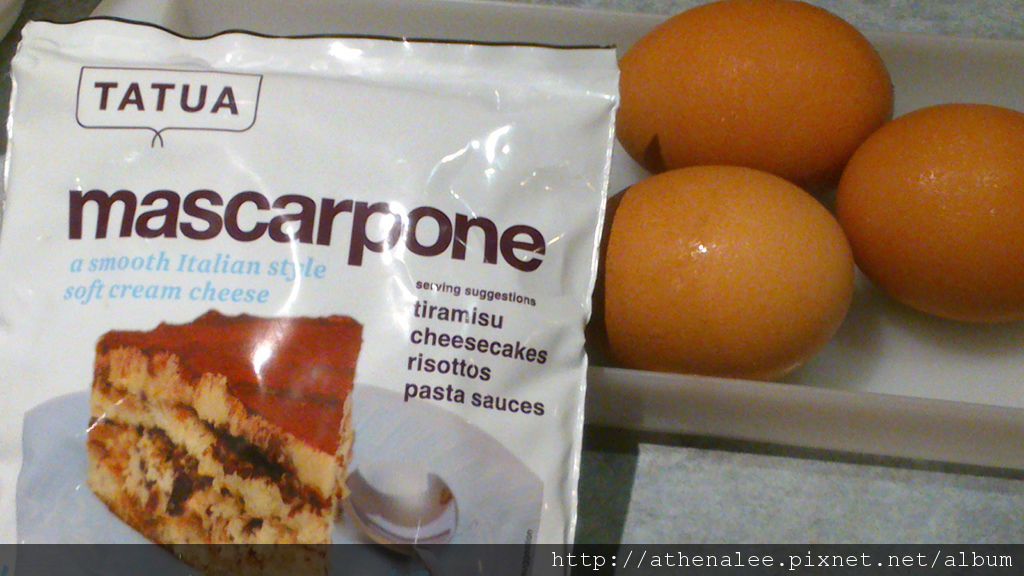
3. 250g Mascarpone (Double Cream)
4. Sponge Finger 手指餅乾
5. Coffee (cold)
6. 10 CC Amaretto
7. Brandy or Coffee liqueur

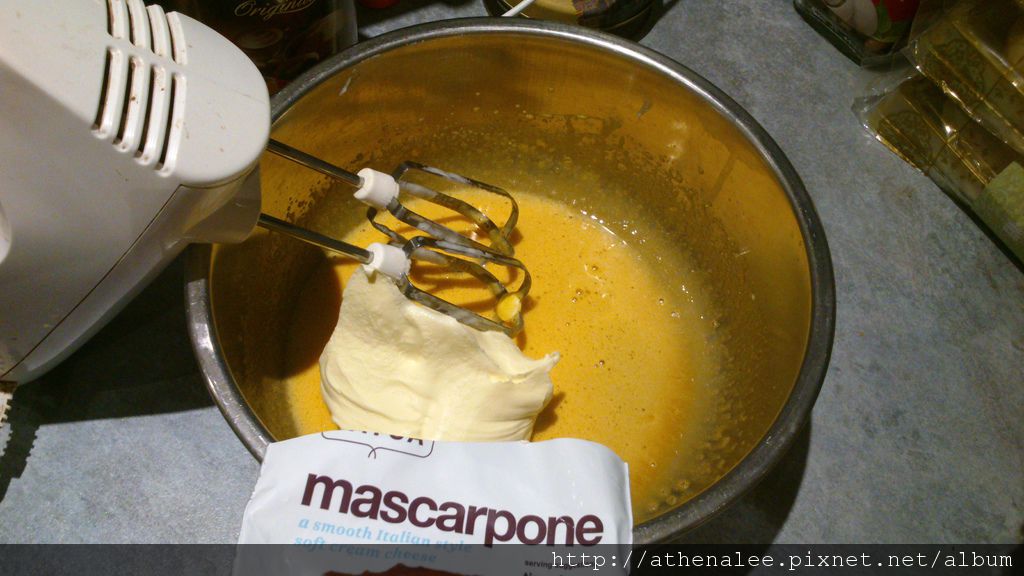
A:蛋黃+40g Sugar +Mascarpone
B:蛋白+20g Sugar
C:A+B+ Amaretto
D:Coffee+ Brandy
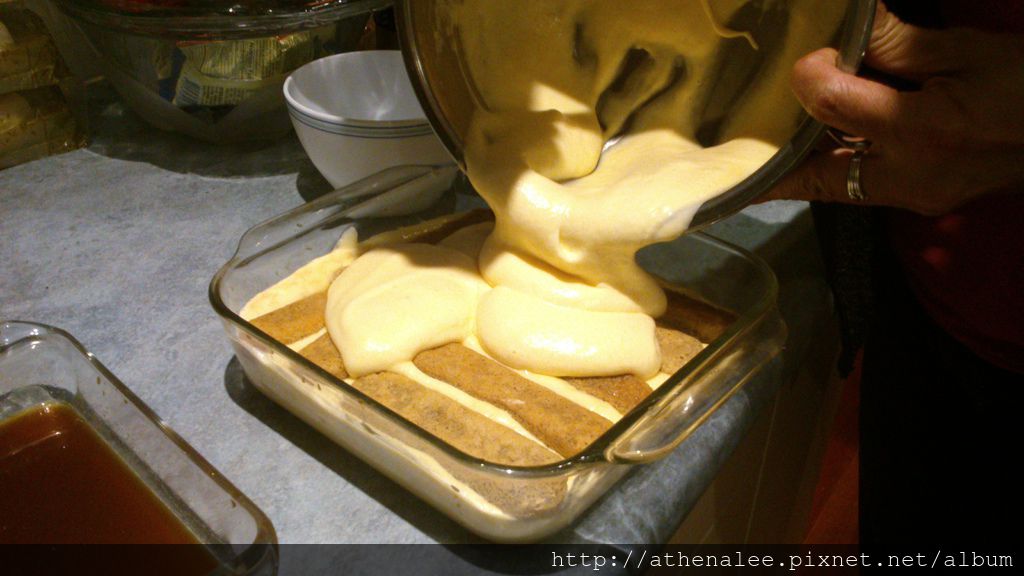
E:4沾D擺放容器中〈平舖一層〉 + B 再加一層 E +另一層B
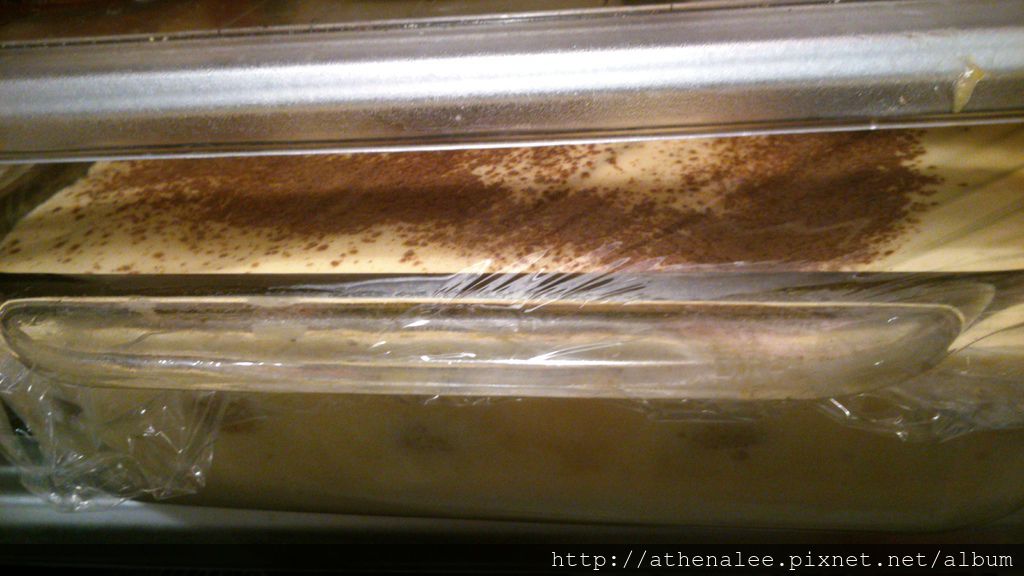
F:放入冰箱3小時以上
食用前撒上巧克力粉Cocoa power

DSC_0292

DSC_0293

DSC_0294
(A) Egg white +20g Sugar

DSC_0296
( B ) Egg yolk +40 Sugar

DSC_0297
( B )+Mascarpone +(10 CC Amaretto )

DSC_0299
(A ) + (B)
DSC_0302
coffee+ Brandy or Coffee liqueur

DSC_0306

DSC_0311

DSC_0316
+3H @ refrigerator

孩子要吃時,不用加酒類也無仿

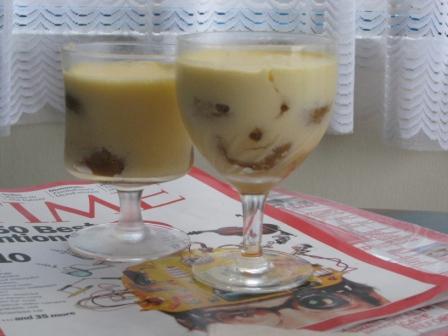
在Party的時候,也可以做成一小杯杯的,比較方便客人取用。

這是在夏日裡的簡單甜點,應該是義大利的甜點,有人也用海綿蛋糕代替手指餅乾的部分,這個甜點應該是被日本人發揚光大再傳入台灣的。
在正式餐廳點這份甜點價格不斐,而在台灣要製作這道甜點時也需要先找到這Mascarpone Cheese才行,而這起是本身就是最昂貴的部分了〈一公克約一圓〉,所以在台灣自己做找材料是比較麻煩的事情。
在炎炎夏日不用開烤箱多麼好的一件事情。
而這道甜點是我交情很久遠的好朋友教我做的,每次作提拉米蘇都會想到她,這是她到德國去拜訪她哥哥時帶回來的食譜,原來這麼簡單啊,雖然都已經可以背起來了,但是每次作的時候我總是喜歡在拿出她手寫給我的食譜再看看,除了比較安心也是想念她的一個方式,她那秀氣的字跡讓我可以想起我們一起做的情景。

IMG_5521e.JPG 這一杯好像有一個可愛的笑臉
天氣又熱了,開始夏季甜點,提拉米蘇是很好的選擇,也可以做成單杯狀,很適合Party time
,

雅典那 發表在 痞客邦 留言(0) 人氣()

用現成的 Puff Pastry 派皮來作千層蘇最簡單了
只要將皮退好冰,抹上水灑上細紅糖或白砂糖
然後將外往裡面各折/4
中間縫細留大一點,再抹薄薄一層水,再對折
然後切成約0.6Cm厚的寬度
再將一面沾糖平放在烤盤上
之間要留約2Cm的距離
用220度c烤約10分鐘IMG_9580.JPGIMG_9579.JPG

雅典那 發表在 痞客邦 留言(0) 人氣()

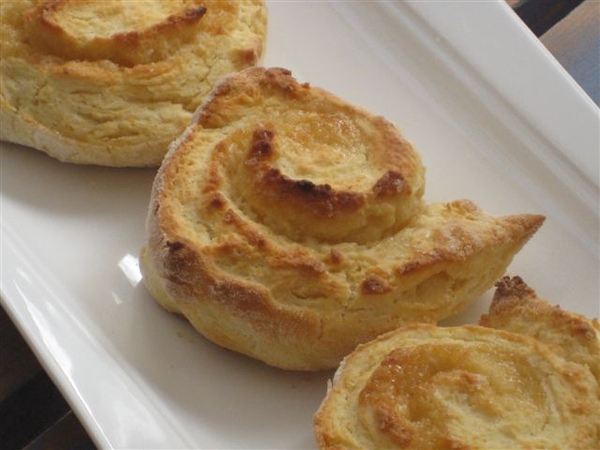
IMG_9577.JPG
紅糖Scones 捲

用一樣的材料,把他們全混何揉好之後,桿成一片大面積將紅糖加點水和好抹上,捲成一大長型捲,再切成約一公分厚度
平擺在烤盤上 ,還是需要空出距離

Scones

3 cups plain flour
75g butter
6 teaspoons baking powder
1/4 teaspoon salt
1~11/2 cups milk, approximately extra milk

Sift flour , baking powder and salt into a bowl.
Cut butter in until it resembles fine breadcrumbs.
Add milk and mix quickly with a knife to a soft dough.
Knead a few times.
Lightly dust an oven tray with flour.
Press scone dough out onto this.
Cut into 12 even-sized pieces.
Leave a 2 cm space between scones.
Brush tops with milk.
Bake at 220C for 10 minutes or until golden brown.
Makes 12.

將麵粉、砲達粉和鹽放入大盆碗中
將奶油切小小塊放入其中拌勻,加入牛奶很快地攪拌成軟麵團
將烤盤灑上薄麵粉,將麵團倒在烤盤上,分切成12塊相同尺寸
之間留約2 公分的距離,在表面上塗上牛奶
用220度烤約10分鐘左右,或是成金黃色

雅典那 發表在 痞客邦 留言(0) 人氣()


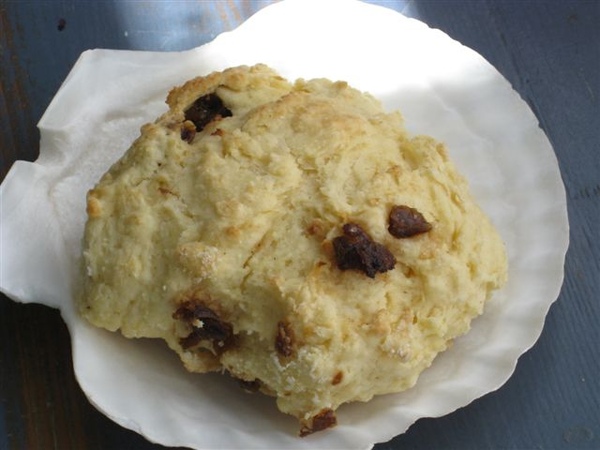
這個點心好吃又容易做,而且可鹹可甜隨個人喜愛
我常用一份料,做兩種口味,只要原材料不變,添加入的材料各減半,就可以一份兩味了

Scones

3 cups plain flour
75g butter
6 teaspoons baking powder
1/4 teaspoon salt
1~11/2 cups milk, approximately extra milk

Sift flour , baking powder and salt into a bowl.
Cut butter in until it resembles fine breadcrumbs.
Add milk and mix quickly with a knife to a soft dough.
Knead a few times.
Lightly dust an oven tray with flour.
Press scone dough out onto this.
Cut into 12 even-sized pieces.
Leave a 2 cm space between scones.
Brush tops with milk.
Bake at 220C for 10 minutes or until golden brown.
Makes 12.

將麵粉、砲達粉和鹽放入大盆碗中
將奶油切小小塊放入其中拌勻,加入牛奶很快地攪拌成軟麵團
將烤盤灑上薄麵粉,將麵團倒在烤盤上,分切成12塊相同尺寸
之間留約2 公分的距離,在表面上塗上牛奶
用220度烤約10分鐘左右,或是成金黃色

加入切好的起士絲,就成了起士口味的 約3/4 杯起士絲
或是亁棗子切碎

Cheese Scones
Add 3/4 cup grated cheese
Date Scones
Add 3/4 cup chopped dates

雅典那 發表在 痞客邦 留言(0) 人氣()

最近天氣開始放晴了,所以蔬果的價格也逐漸合理化,再加上學校開始放假了,到了蔬果店就忘情的採買,忘記了就要遠行。
眼看明天就要上飛機了,冰箱內還滿滿的,雖然大小姐還在家,但是她決對不會對這些需要料理的蔬菜有興趣的,只好開始計畫如何在一天內減到安全範圍內,而不至於回來後還要流淚清理冰箱,。
自從美麗來一起享用過壽喜燒之後,知道她是個品嘗美食的好伴侶,開始在MSN上呼喚她,設想許多讓她遠道而來的理由,想到她答應要借給我日劇「101次求婚」還沒拿來,就這樣讓她帶「101次求婚」來換一場流水席,哈哈。
其實,「流水席」還是美麗小姐想出來的美名詞,原來也不過是清冰箱吧,不過就在我一道一道出菜的同時,她說:「我們在吃流水席!」一面吃一面繼續煮,從酸辣麵、滷肉飯、燙青菜、炒洋菇藘筍...還有各色水果,再喝義大利咖啡,一整個下午都沒停。
到她走時我鍋子裡的日式咖哩也煮得差不多了,可惜她太客氣了,不過她還真幫了我不少忙,陪我吃了頓流水席,還帶走一些蔬菜。
她還一直安慰我多吃一點,因為澳洲的食物很難吃。
真的嗎?怎麼和Kiwi說的都不一樣。
謝謝美麗,等我一星期後澳洲回來再來試些新菜單喔!


雅典那 發表在 痞客邦 留言(0) 人氣()


巧克力海綿蛋糕
4 個 蛋
1 杯 白糖
1/3 杯 沙拉油
1/3 杯 水 or牛奶
1 t 塔塔粉
2 t 泡打粉 BP
1 杯 中筋麵粉
4 T 可可粉
少許 香草精

1,蛋白、蛋黃分開
2,將塔塔粉加蛋白內,再慢慢加入1/3杯的白糖打發,打到翻過來不會掉下來為止
3,蛋黃中加入1/3杯白糖打發,加入1/3杯水和1/3杯的油和香草精等打4~5分
4,麵粉加入BP,可可粉過篩後,加入打好的蛋黃中,拌勻即可
5,將1/2的蛋白加入蛋黃內,拌勻再倒入蛋白中即可拌勻倒入烤盤
180度烤約30~40分,聞到香味再開烤箱用竹籤試試,不沾黏即可取出烤箱
倒出烤盤待涼即可食用
自行依個人喜愛裝飾蛋糕

這兩天剛好是爸爸國曆農曆的生日
這是特別給我在台灣度假的女兒,請她幫我烤個蛋糕給外公生日快樂

生日快樂喔!親愛的爸爸,我派了代表去了表心意


雅典那 發表在 痞客邦 留言(0) 人氣()

巧克力香蕉蛋糕

Chocolate Banana Snack Cake

材料

2 Cups self-raising flour (or 2 cups flour and 4 tsp baking)

兩杯自發麵粉或2杯中筋麵粉加4茶匙發粉

Pinch of salt 鹽少許

100 g butter (or 1/3 cup oil)100奶油或1/3杯的沙拉油

3/4 cup sugar 3/4杯糖

2 eggs 蛋

1/2 tsp vanilla essence 1/2 香草精

1/2 cup milk 1/2杯牛奶

2 Banana熟香蕉兩條

1/4 cup chocolate chips 碎巧克力粒

烤箱預熱180度C

將紅色字的材料先用打蛋器打好,再加入篩好的麵粉攪拌均勻即可,放入杯型烤盤,中間加一點巧克力粒,最後在最上面再灑一些即可

烤約 12~15 分鐘

雅典那 發表在 痞客邦 留言(0) 人氣()

冷冷的天氣2~8度的氣溫,開個烤箱做點甜點暖一暖屋子吧!
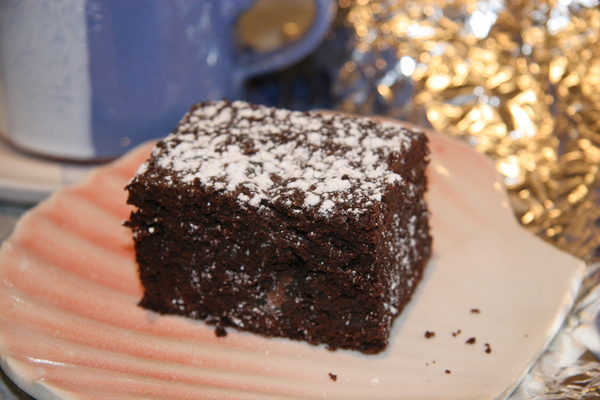
巧克力不郎尼


Wicked Chocolate Brownies

200g butter, softened 1/2cup Standard Flour

1 1/2 cups sugar 150g roughly chopped white chocolate

1 cup Cocoa (or 3/4 cup roughly chopped walnuts)

3 eggs icing sugar to dust

Using an electric mixer, beat butter, sugar and cocoa for 4~5 minutes until creamy. Add eggs one at a time, beating well after each addition.

Stir in flour and chocolate (or chopped walnuts). Transfer mixture to a greased 20 cm square baking tin. Bake at 150C for 1 hour or until the surface of the brownie appears cracked. The centre should appear almost uncooked. Cool in the tin. Cut into squares. Just before serving dust with icing sugar.

巧克力布朗尼

200 g軟化的奶油 1/2 杯 中筋麵粉
1 1/2 杯糖 150g 切碎白巧克力 或 3/4杯碎核桃

1 杯 可可粉 霜糖 灑表面用

3 個蛋

1.將軟化的奶油、白糖和可可粉用電動打蛋器,打約4~5分鐘或直到調和的奶油狀。

   然後將雞蛋一個、一個地加入,每加一個蛋都要打均勻再加入下一個。

2.將麵粉和核果均勻拌入濕的材料內之後,盛入20公分的方形烤盤中。

3.以150度C烤約一個小時,或烤到表面有點碎裂為止。

在烤盤中冷卻後才移出,切成小方塊狀,在表面灑上霜糖看來更可口。

P.s.可以將邊緣較硬的部分切下來,切成小方塊,吃冰淇淋時灑在上頭很好吃喔!

雅典那 發表在 痞客邦 留言(0) 人氣()

«12